Rectangular Pizza Stone for Grill & Oven: Pro Results
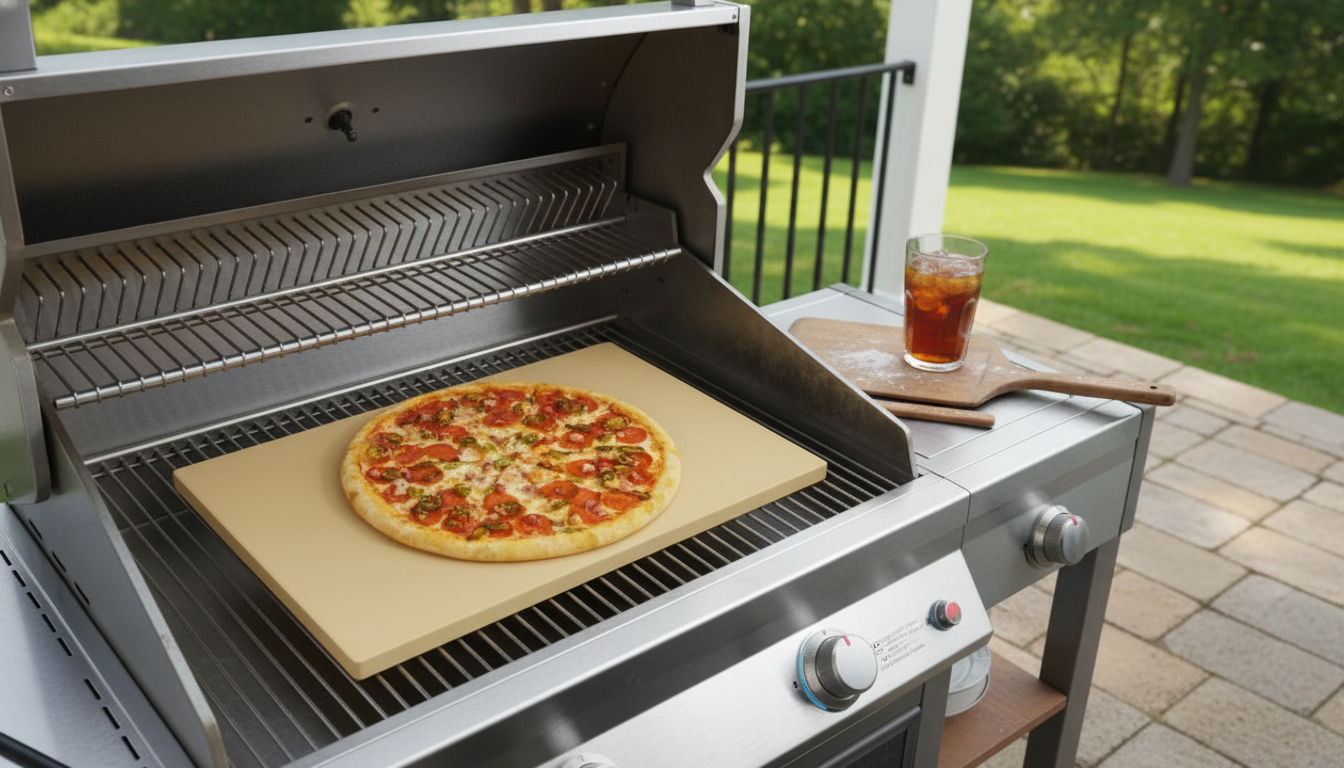
Rectangular Pizza Stone for Grill & Oven: Crisp Crusts Indoors and Out
A rectangular pizza stone helps deliver the hot, even heat that makes pizza crusts blister and crisp—whether cooking on a backyard grill or in a standard kitchen oven. The rectangular shape also makes it easier to bake larger pies, multiple flatbreads, or side-by-side items like rolls and roasted vegetables.
What a rectangular pizza stone does (and why the shape matters)
Pizza stones work by acting like a heat battery: they preheat for a while, then release that stored energy steadily the moment dough hits the surface. That stable heat helps set the bottom crust quickly, which is key for getting a crisp base without overdrying the toppings.
- Stores heat and releases it steadily to firm up dough quickly, encouraging a crisp bottom.
- Absorbs some surface moisture from dough during the initial bake for better browning.
- Rectangular footprint = more usable space than many round stones—handy for family-size pies, flatbreads, and multiple items at once.
- Multi-purpose baking and roasting surface for items that benefit from stable, radiant heat.
If you regularly bake two small pizzas back-to-back, the rectangle can also reduce bottlenecks: there’s room to slide on a second flatbread or toast buns while the first pizza rests.
Best uses beyond pizza
A good stone earns its keep even when pizza night isn’t on the calendar. Think of it as a way to add steady, high heat to foods that like a quick sear or a firm, dry bottom.
- Flatbreads, naan, pita, and tortillas for quick char and puff.
- Frozen pizzas when a crisp base is the goal.
- Reheating slices: helps revive the bottom crust without turning the top soggy.
- Roasting: vegetables, wings, and bacon (place a tray below if drips are likely).
- Bread baking: supports steady heat for rolls and rustic loaves (follow recipe guidance).
For meats and poultry, always verify doneness with safe internal temperatures. The USDA’s reference chart is a reliable standard for home cooking: USDA Food Safety and Inspection Service: Safe Minimum Internal Temperatures.
How to use it in an oven
- Placement: set the stone on the middle rack (or one level above middle for stronger top heat if the bottom is browning too fast).
- Preheat thoroughly: allow enough time for the stone to heat fully before baking.
- Launch cleanly: use a pizza peel or the back of a sheet pan dusted with flour/semolina to slide the pizza onto the hot stone.
- Control top browning: if cheese browns before the crust sets, move the rack down one position or reduce bake temperature slightly.
- Avoid thermal shock: do not place a cold stone into a fully heated oven or add ice/water to a hot stone.
One reliable routine is to preheat the oven with the stone inside, then build the pizza on a lightly dusted peel. Before launching, give the peel a short shake—if the dough slides, it’s ready to go. For more baking-surface guidance (stone vs. steel and how heat transfer changes browning), King Arthur Baking offers a helpful overview: King Arthur Baking: Pizza Stone (tips and use).
How to use it on a grill (gas or charcoal)
Grilling pizza is less about putting dough over flame and more about turning the grill into a hot, lid-closed oven. The goal is even heat so the top finishes at the same pace as the bottom.
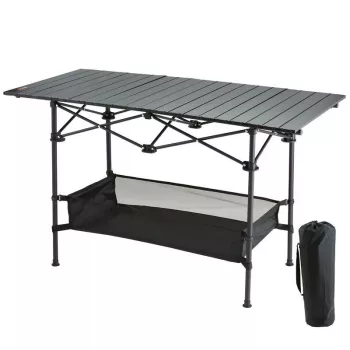
For backyard setups, having a dedicated prep surface nearby makes launching and rotating much easier. A compact option like the Portable Folding Camping Table can serve as a temporary pizza station for stretching dough, holding toppings, and resting hot pies.
Heat and timing guide (starting points)
| Food | Oven setting | Grill setup | Typical time | Doneness cues |
|---|---|---|---|---|
| Thin-crust pizza (12–14 in) | 475–550°F | Lid closed, indirect heat | 6–12 min | Deep golden bottom; bubbling cheese |
| Thicker crust / pan-style on stone | 450–500°F | Lower, steady indirect heat | 10–18 min | Crust set through; edges browned |
| Frozen pizza | 450–500°F | Indirect, moderate-high | 10–16 min | Crisp base; toppings hot throughout |
| Reheating slices | 400–450°F | Indirect medium | 4–8 min | Bottom re-crisped; cheese soft |
| Flatbread / naan | 500–550°F | High, lid closed | 2–5 min | Puffed spots; light char blisters |
Care, cleaning, and storage
Common problems and quick fixes
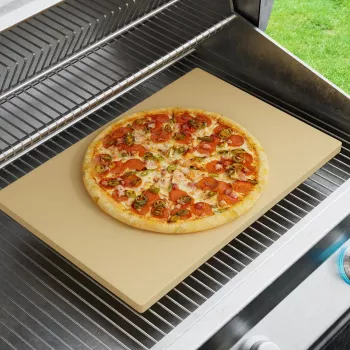
Product option: Rectangular Pizza Stone for Grill & Oven
If you want one surface that transitions easily from indoor baking to backyard grilling, the Rectangular Pizza Stone for Grill & Oven is built for flexible setups. The roomy rectangular layout is especially convenient for larger pies, multiple flatbreads, or dinner sides that benefit from even, radiant heat.
| Item | Value |
|---|---|
| Product | Rectangular Pizza Stone for Grill & Oven |
| Price | 38.51 USD |
| Availability | In stock |
FAQ
Can a pizza stone be used on a gas grill?
Yes. Preheat the stone with the lid closed and cook with indirect heat to reduce scorching. Keeping the lid closed also helps the top cook evenly while the bottom crisps.
How long should a pizza stone preheat?
Preheat long enough for the stone to fully absorb heat; many ovens need about 30–45 minutes, and grills can take a similar amount of time depending on thickness and target temperature. A fully preheated stone is the difference between a crisp base and a pale, soft bottom.
Why did my pizza stone crack?
Cracking is commonly caused by thermal shock—rapid temperature changes such as moving from cold to very hot, adding cold food/liquid to a very hot stone, or cooling it on a cold or wet surface. Let the stone heat and cool gradually to reduce the risk.














Leave a comment