Vintage Car 3D Wooden Puzzle Kit: Easy Build, Nice Display
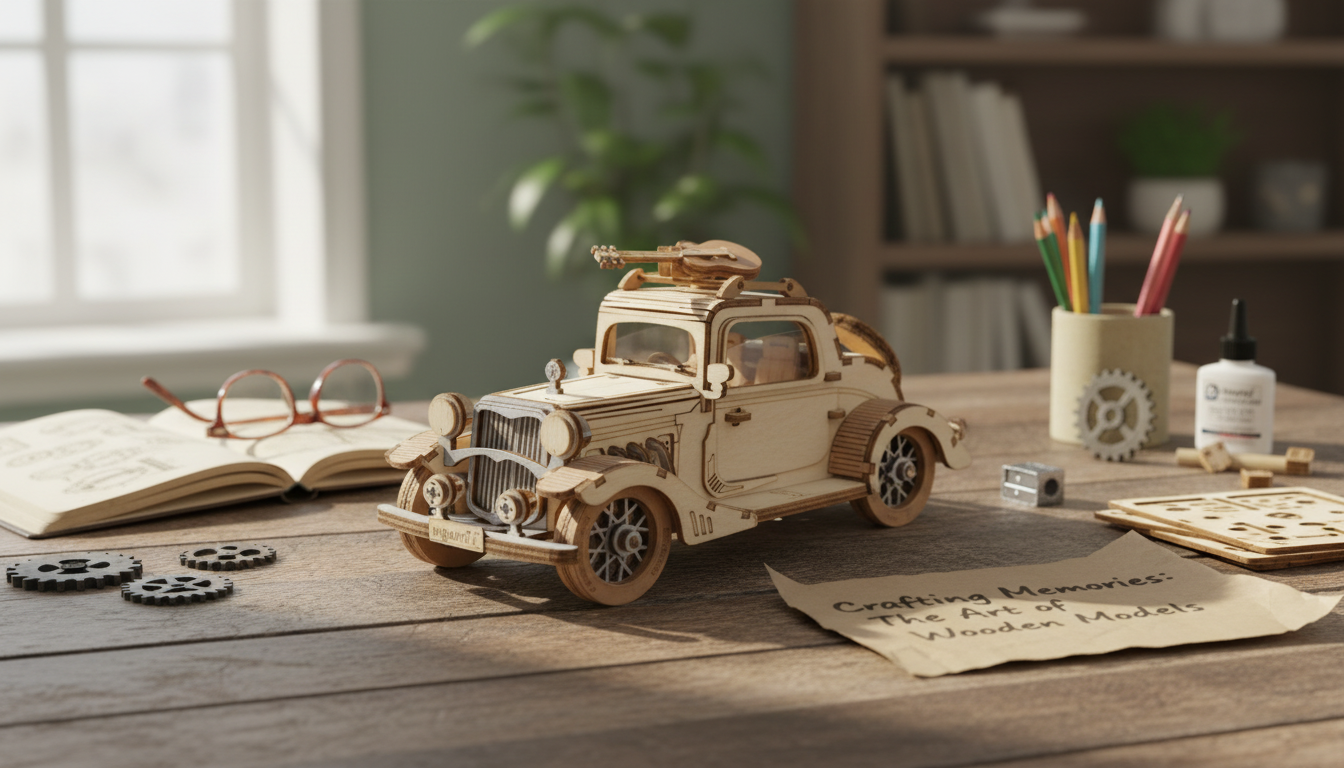
Vintage Car 3D Wooden Puzzle Kit: Build a Classic Model You Can Display
A 3D wooden puzzle kit turns a relaxing build into a shelf-worthy vintage car model. The best part is how quickly a flat set of laser-cut sheets becomes something with real presence—fenders, wheels, and that unmistakable classic silhouette. Below is what to expect during assembly, how to get cleaner fits, and how to keep the finished model looking sharp once it’s on display.
What Makes a 3D Wooden Vintage Car Build So Satisfying
A vintage car 3D wooden puzzle hits a sweet spot between crafting and model building. It feels hands-on and focused, but it doesn’t demand power tools, paint booths, or a dedicated workshop to enjoy.
- It’s tactile and calming: pressing parts free, fitting joints, and watching the shape emerge is a welcome screen-free reset.
- It finishes as décor: classic car styling looks right at home on desks, bookshelves, or gift displays—more “keepsake” than “toy.”
- Progress is obvious: you go from flat sheets to recognizable body panels and rolling wheels in a surprisingly short time.
- Easy to share: it works as a solo “quiet build,” but it’s also great for a weekend table project with a friend or teen.
What’s Included and How Assembly Usually Works
Most wooden vehicle kits follow a similar rhythm: prep the parts, assemble sub-sections, then bring everything together for final alignment.
- Pre-cut wooden sheets: parts are typically numbered or shaped so you can match them to the diagram. Pieces usually press out by hand—slow and steady helps avoid splintering.
- Step-by-step instructions: you’ll often build in modules (body, wheels, chassis), then combine them once each section is square and stable.
- Press-fit joints: many builds rely on snug tolerances. Glue can be optional depending on how tight the tabs fit and how durable you want the final model to be.
- Simple helper tools: a nail file or fine sandpaper for tight tabs, tweezers for small pieces, and a soft cloth to rest finished sections on while you work.
Quick Product Snapshot
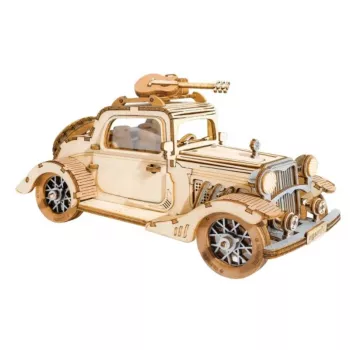
If you want a budget-friendly build that still ends as a displayable model, the Vintage Car 3D Wooden Puzzle Kit is an easy add-on for hobby time, gift bundles, or a low-pressure weekend project.
| Detail | Value |
|---|---|
| Name | Vintage Car 3D Wooden Puzzle Kit |
| Price | 13.51 USD |
| Availability | In stock |
| Product page | https://supremefindsworld.shop/vintage-car-3d-wooden-puzzle-kit/ |
Build Tips for Cleaner Fits and a Better Finish
Wooden puzzles look best when the joints seat cleanly and the surfaces stay smooth. A few small habits make a noticeable difference in the final “display quality.”
- Pop-out carefully: support the sheet from behind and push gently at thicker areas first. Thin decorative sections are easier to crack if flexed.
- Dry-fit before committing: test the joint alignment and depth, then decide whether glue is even necessary. If you do glue, use the tiniest amount and wipe squeeze-out fast.
- Sand tabs lightly: a couple of passes with fine sandpaper can prevent forced joints that split the wood grain. If a tab feels “too tight,” don’t muscle it—tune it.
- Work in sub-assemblies: build wheels/axles and body panels separately, then combine. This helps keep the chassis straight and the wheels aligned.
- Protect edges and surfaces: handle printed or finished faces with clean, dry hands. Rest parts on a soft cloth to reduce scuffs while you work.
For a comfortable setup, a stable surface helps a lot—especially when you’re sorting small parts or keeping axles parallel. A dedicated workspace like the Portable Folding Camping Table can be a practical option when you want a firm build station that packs away after.
Where It Fits Best: Gifts, Learning, and Display
A vintage car wooden kit is versatile: it’s entertaining while you build it, and it keeps delivering value once it becomes décor.
Safety and Age Guidance
- Small parts risk: pieces can present a choking hazard; keep them away from children who still mouth objects. The U.S. Consumer Product Safety Commission offers general toy safety guidance here: CPSC — Toy Safety Guides.
- Sharp edges: wood tabs and cut edges can be pointy. Light sanding and adult supervision are smart for younger builders.
- Adhesives and finishes: if you choose glue or a protective finish, use it in a ventilated area and follow label directions. For broader context on toy safety considerations, see ASTM F963.
- Prevent lost pieces: store unfinished builds in a container or zip bag between sessions so nothing goes missing.
Care and Display: Keeping the Model Looking Good
FAQ
Is glue required to assemble the vintage car wooden puzzle?
Many kits are designed for press-fit assembly, so glue often isn’t strictly required. A tiny amount of glue can help reinforce joints if tolerances feel loose or if you want extra durability for long-term display; let it dry fully before handling.
How long does a 3D wooden car puzzle usually take to build?
Plan for about 1–3 hours for many builders, depending on experience and how carefully you prep parts. Sorting pieces, dry-fitting, and lightly sanding tight tabs can add time but usually improves the final fit.
What age is appropriate for a 3D wooden puzzle kit with small parts?
It depends more on fine-motor skills and patience than age alone, but adult supervision is recommended for younger builders due to small parts and sharp edges. If someone is prone to putting objects in their mouth, the kit should be kept out of reach.














Leave a comment